

How to Grow Peas
The joy of growing your own vegetables is a fulfilling experience, and one of the most satisfying crops to nurture in your garden is peas (Pisum sativum). Garden peas are not only delicious and versatile, but they are also relatively easy to grow, making them an ideal choice for both novice and experienced gardeners. They’re also extremely tasty picked at the peak of freshness and eaten raw, which makes them a great option for teaching kids how to grow their own food.
In this guide, we will walk you through the steps of successfully cultivating peas, from choosing the right varieties to dealing with common problems like powdery mildew. So, roll up your sleeves and let’s dive into the wonderful world of growing garden peas.
Choosing the Right Varieties
Before you embark on your pea-growing journey, it’s important to understand the different types of peas available. There are three main categories: shelling peas, sugar snap peas, and snow peas. Shelling peas are known for their round, plump pods that contain tender peas inside. Sugar snap peas have edible pods that are both sweet and crunchy, making them a popular choice for snacking. Snow peas, on the other hand, have flat, edible pods and are often used in stir-fries and salads.
Within these categories, there are various varieties to choose from. For early varieties, consider “Kelvedon Wonder,” a dwarf pea variety that produces delicious peas even in cooler climates. “Hurst Green Shaft” is another excellent shelling variety known for its reliable and abundant harvest. Remember to select pea varieties that suit your climate and growing conditions.
Sowing Peas
The best time to sow peas is in early spring when the soil has warmed up and is workable. Prepare your garden bed by loosening the soil and adding compost for improved fertility and drainage. Peas thrive in well-draining soil with a slightly alkaline to neutral pH.
Create furrows in the soil about 2 inches deep and 2 feet apart if you plan on growing tall varieties, and about 1 foot apart for dwarf varieties. Place the pea seeds along the furrows, spacing them about 2 inches apart. Cover the seeds with soil and gently pat them down. Freshly sown peas can be vulnerable to attack by mice. If you’re growing on an allotment and find you get low germination rates, it’s advisable to suspect rodent attack and to either sow slightly closer together, or to place two peas at each planting station. Doing this should help ensure enough seeds are left to germinate successfully. If excess numbers of seeds grow successfully, simply cut a few plants off at ground level to avoid crowding.
Alternatively, if you have limited space, you can grow peas in containers. Use deep containers to accommodate the pea’s root system, and ensure they have good drainage. Fill the containers with a high-quality potting mix and sow the seeds following the same spacing guidelines as for garden planting.
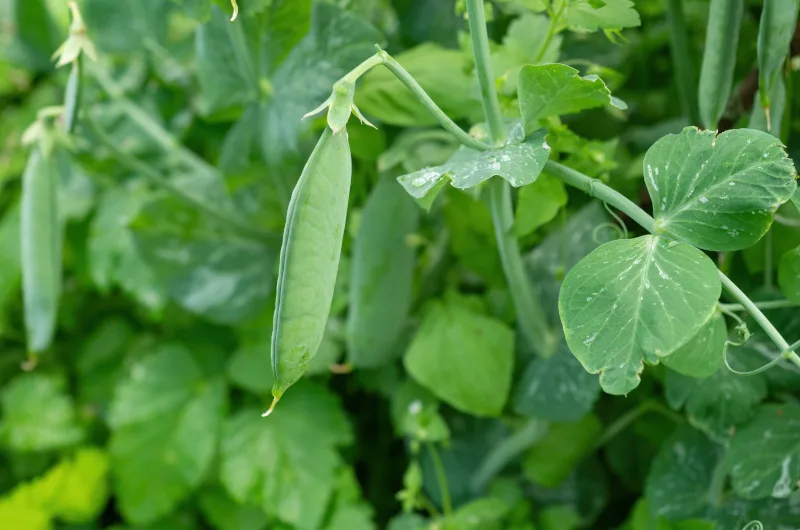
Providing Support
Peas are climbers, and they require support as they grow. As they start to grow, they’ll send out tendrils that will help them cling to their supports. Traditional pea sticks, twiggy branches, or trellises can be used to provide the necessary support. To ensure stability, insert supports into the ground before sowing the pea seeds.
If you’re planting in rows, consider creating a double row with supports in between. This allows the pea plants to intertwine with the supports, creating a natural climbing structure. Be mindful of the height of the pea variety you’re growing, as taller varieties may require more support.
Caring for Pea Seedlings
Once your pea seedlings emerge, it’s important to keep the soil consistently moist, especially during the early stages of growth. Mulching around the plants can help retain soil moisture and keep the roots cool. Water the plants at the base to prevent wetting the leaves, as damp foliage can encourage disease.
As the pea plants grow, train the tendrils to climb the supports to ensure they are properly supported and can reach their full potential. This also helps prevent the pods from touching the ground, reducing the risk of diseases and pests.
Dealing with Common Problems
While peas are relatively easy to grow, they can still face some challenges. One common issue is powdery mildew, a fungal disease that appears as a white, powdery substance on the leaves. To prevent powdery mildew, ensure good air circulation between plants by proper spacing and pruning any overcrowded growth. Watering at the base of the plants and avoiding overhead watering can also help.
Another potential problem is aphid infestations. These tiny insects can suck the sap from pea plants and stunt their growth. Introduce natural predators like ladybugs or use a strong stream of water to dislodge aphids from the plants.
Lastly, peas are another crop which is a magnet for pigeons. You know those gas guns, which farmers place in fields, and which let out a loud boom periodically to scare birds off? A lot of the time, these will be protecting freshly sowed peas from pigeons. At the time of year when farmers typically sow peas, pigeons travel round in large flocks and there’s little natural food to sustain them. It’s not unheard of for a flock to decend on a large field and completely decimate an entire crop in not much more than minutes, For this reason, farmers employ gas guns, as well as timed bangers and shotgun wielding pest controllers to help mitigate the risk. These measures are obviously impractical for the home or allotment grower, so it’s wise to net crops to prevent damage. Nettting marketed at gardeners can often be expensive, so it’s worth looking at scaffold debris netting, designed to prevent items falling from building sites onto passers by. Debris netting is generally cheaper, more durable, less prone to tangling, and will last for years, it not decades.
Harvesting Peas
The anticipation of harvesting peas is one of the most exciting parts of the growing process. Shelling peas are ready to be harvested when the pods are plump and the peas inside have filled out. Sugar snap peas are best harvested when the pods are firm but still have a crisp texture. Snow peas should be picked when the pods are flat and the peas inside are just starting to develop.
Use two hands when harvesting to avoid damaging the delicate plants. Hold the plant with one hand and use the other to gently pull the pod off the plant. Harvest regularly to encourage continuous pod production throughout the growing season.
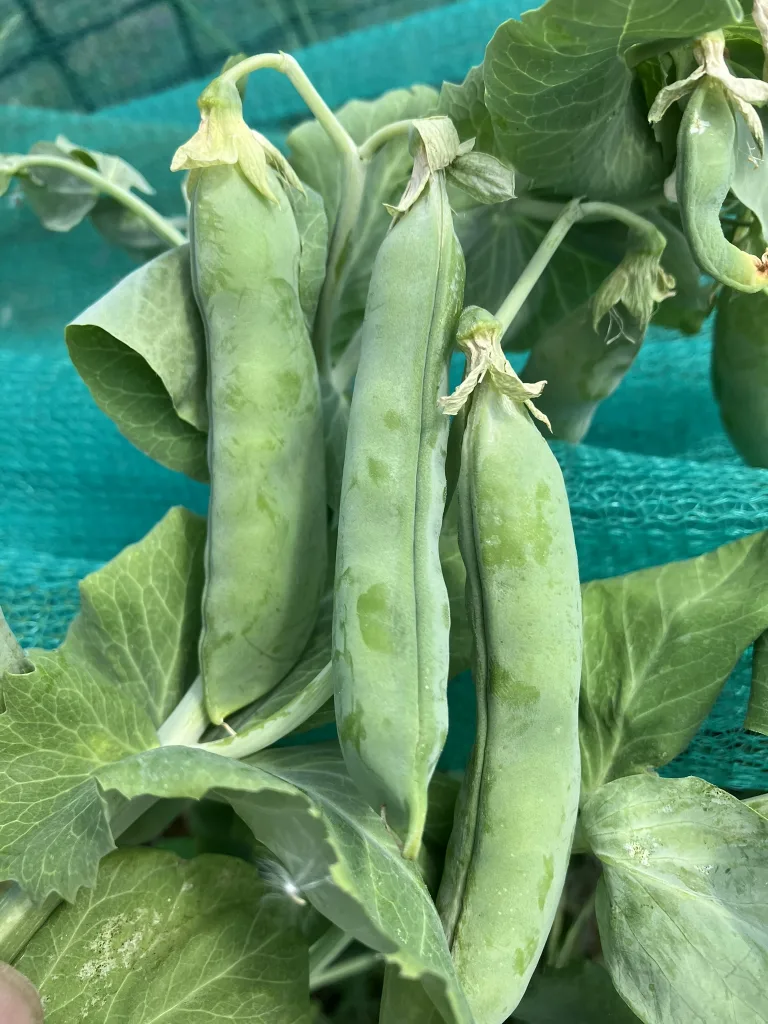
Harvest shelling peas once the pods are plump and rounded. Don’t leave harvesting too long, as pods may start to yellow, at which point the peas inside will become firmer, or even slightly dry or woody.
Saving Pea Seeds
Health pea plants will produce a prolific crop of pods, each containing multiple pea seeds. As that’s the case, and as pea seeds can be more expensive than other types of veg, it’s worth saving some of the seed for your next season’s crop. Leave some of the pods on the plants until they’ve gone yellow and started to dry out. Don’t leave them for too long, as they may start to open, losing precious seeds. After picking, place the unopened pods on a baking tray or similar and then place the tray in a warm place. I put mine on top of the fridge, where the heat from the compressor keeps the area warm. Alternatively an airing cupboard, or sunny window cill will be ideal. Once the pods dry fully, open up, strip the seeds and discard the pods. Leave the peas on the tray a week or two longer until fully dried (the skins will shrivel visibly). Place the fully dried peas in a jam jar and store in a cool, dry place until needed for the next sowing.
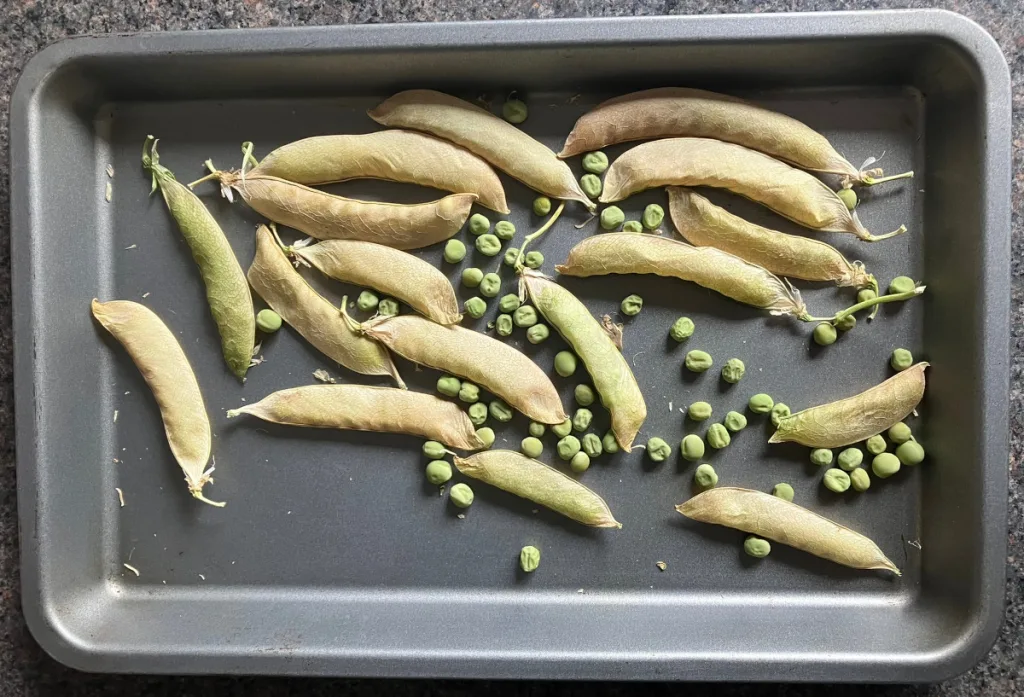
By drying and shelling 20-30 pods of peas you can gain the seeds for next season’s crop, avoiding the need to spend money on shop bought seeds.
Growing peas in your garden is not only a rewarding endeavor but also a relatively simple one. With the right variety selection, proper sowing techniques, adequate support, and attention to common problems, you can enjoy a bountiful harvest of garden peas. Whether you’re a beginner or a seasoned gardener, the joy of watching pea seedlings transform into healthy plants laden with delicious pods is an experience like no other. So, roll up your sleeves, grab your gardening tools, and get ready to relish the sweet taste of your homegrown peas. And don’t forget to grow some mint too, which adds an extra zing of taste when cooking freshly picked peas!

One thought on “How to Grow Peas”