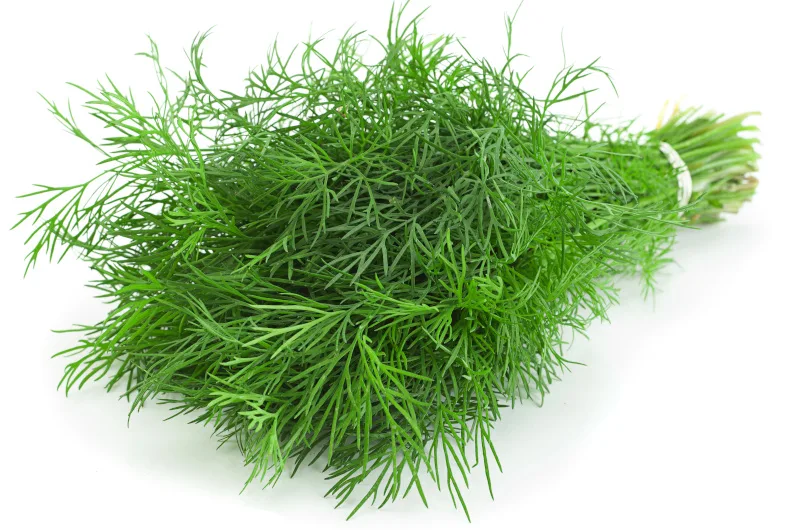
How To Grow Dill
Dill, with its delicate fronds and distinctive flavour, is a delightful herb to grow in your garden. Whether you’re an experienced gardener or a novice, cultivating dill is a rewarding and straightforward process.
Choosing the Right Location:
To embark on your growing journey, select a suitable location in your garden. Dill thrives in full sun but can tolerate partial shade. Choose an area with well-draining soil, as dill prefers soil that doesn’t retain excessive moisture.
Sowing the Seeds:
Dill is commonly grown from seeds, making it an accessible herb for gardeners of all levels. Sow the seeds directly into the soil during mid-spring to early summer, when the weather is warmer and the risk of frost has passed. Create shallow furrows in the soil, around 1/4 inch deep, and space them 12 inches apart. Place the seeds into the furrows, cover them lightly with soil, and gently press down to ensure good seed-to-soil contact.
Watering:
Maintaining consistent moisture is crucial for dill’s growth. Regular watering is necessary, particularly during dry spells. However, be mindful not to overwater, as dill prefers slightly drier conditions to avoid waterlogged roots. When watering, aim for the base of the plant, avoiding overhead irrigation to minimize the risk of fungal diseases.
Thinning Seedlings:
Once the seedlings emerge, thin them out to provide ample space for growth. Remove the weaker seedlings, allowing the healthiest ones to be spaced approximately 12 inches apart. Thinning encourages proper airflow and reduces competition for nutrients among the plants.
Mulching:
To help retain soil moisture, suppress weed growth, and regulate soil temperature, apply a layer of organic mulch around the dill plants. Options like straw or compost make excellent choices for mulching. Apply a generous layer, ensuring the dill stems are not directly covered by the mulch.
Fertilisation:
Dill is a relatively low-maintenance herb and doesn’t require heavy fertilisation. However, applying a balanced organic fertiliser can benefit its growth. Follow the instructions on the packaging and apply the fertiliser once or twice during the growing season. This will provide the necessary nutrients for healthy foliage development.
Harvesting:
One of the joys of growing dill is the ability to harvest its fresh leaves and flavourful seeds. Harvest the leaves when they are young and tender for the best flavour. Simply cut the leaves close to the stem, leaving some foliage intact to encourage regrowth. Dill seeds can be harvested when they turn brown and dry on the plant. Place a paper bag or container beneath the seed heads and gently shake them to collect the mature seeds.
Prolonging the Harvest:
To ensure a prolonged harvest of dill leaves, it is recommended to pinch off the flowers as they appear. This practice redirects the plant’s energy towards producing more foliage rather than seeds, extending the harvest period.
Storage Options:
Fresh dill leaves can be stored in the refrigerator for a few days. If you wish to preserve dill for a longer duration, freezing is an excellent option. Finely chop the leaves and place them in an airtight container or freeze them in ice cube trays with water or oil. Frozen dill can be conveniently added to your dishes when needed.
Succession Planting:
For a continuous supply throughout the growing season, consider succession planting. Sow new seeds every few weeks to replace the harvested plants, ensuring a steady rotation of fresh dill in your garden.
By following these guidelines, you can successfully grow dill in a UK garden. Enjoy the fragrant foliage and distinctive flavour of this versatile herb in your culinary creations!


One thought on “How To Grow Dill”